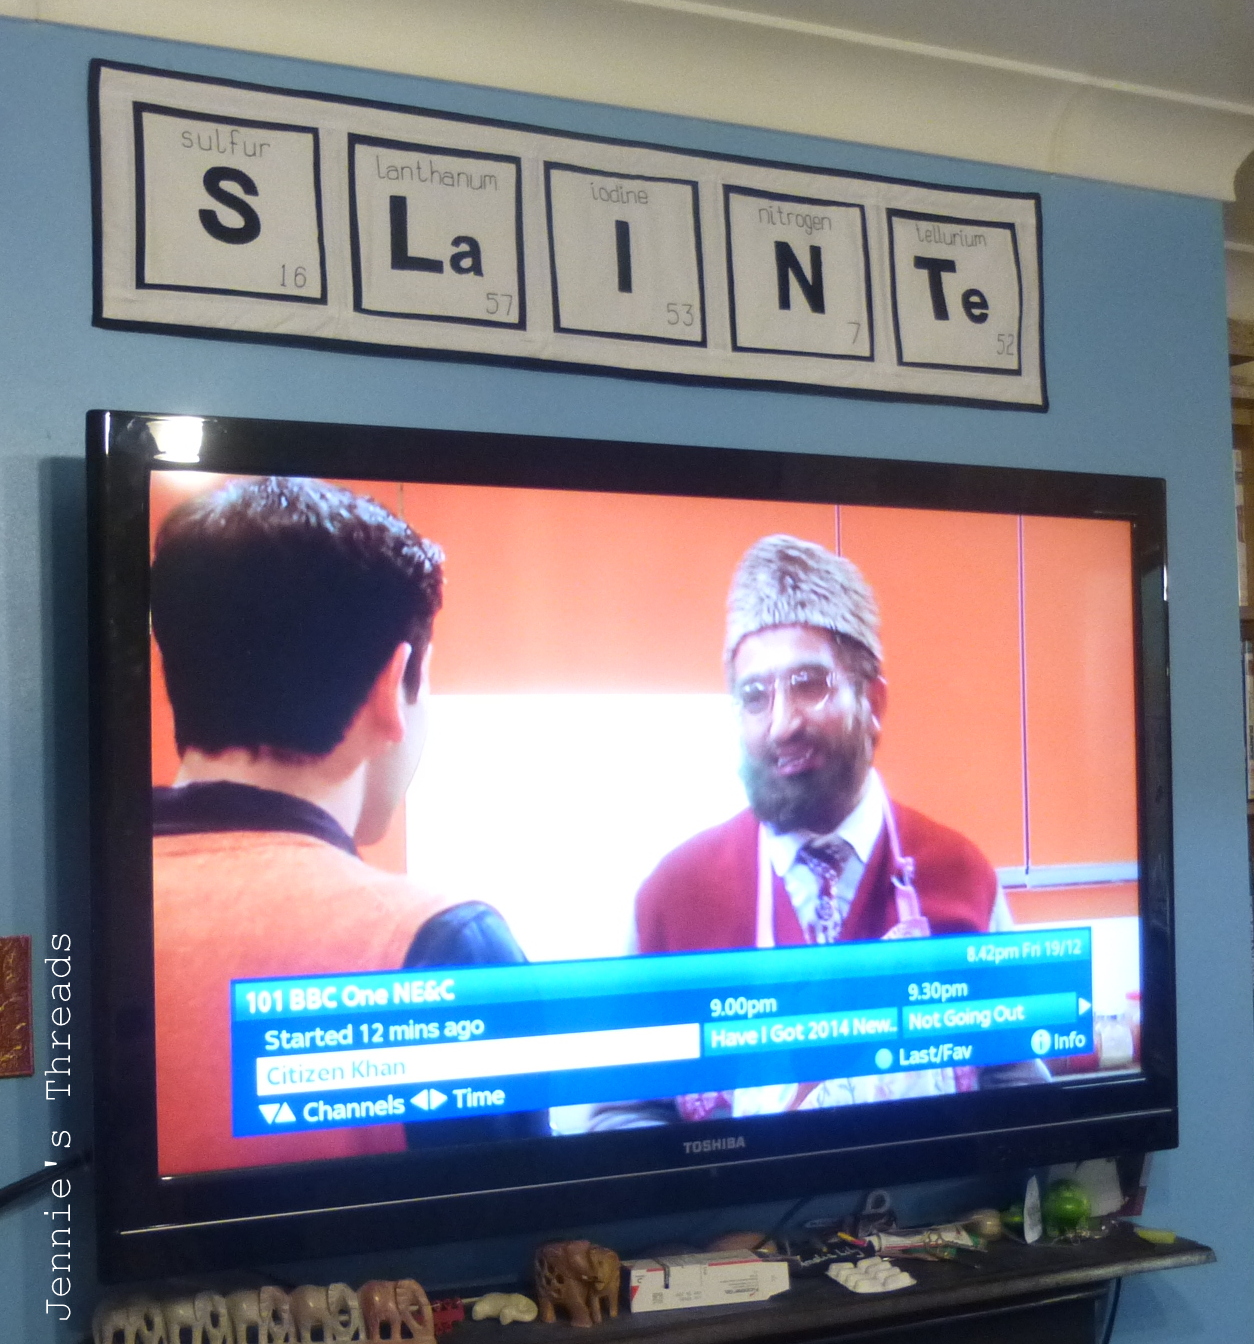
This was a project where I did all the hard work, then ignored it for ages. And when I picked it up again it came together really quickly.
This mini came about from two things: firstly the Big Stitch Swap where someone made a hoop with the word "stitch" embroidered in the style of chemical elements. Secondly, there is a whole in the wall above our telly where a picture use to hang before we hung our telly. On the first count I thought it was a great idea and started researching other words I could spell from chemical elements (some are very rude...). On the second count, we are far, far too lazy to remove the rawl-plug and fill in the hole and get a smidgen of paint to cover it!
I looked through all of the English words you could make from real elements (I avoided the websites that make up elements for you so you can spell any word). I was tempted with 'La "Cuisine"' or 'welcome to the "circus"' where cuisine and circus could be spelled. But it turns out that the Gaelic word "Slainte" (pick your accent acute or grave depending on where you are) can be spelled. It means "cheers" or "good health".
Why Gaelic, I hear you ask. I'm not Scottish. I'm not Irish. But I do love the traditional music of both of these fabulous countries, and Slainte comes up fairly regularly. So I don't feel too fraudulent using it. Plus I'm a language student. And I'd run out of ideas in French, Italian and German, and I can't remember a word of Portuguese....
Anywaaaay - back to the quilt: I've use Art Gallery Pure Elements in black and white (I don't know the technical names). The big letters are appliqued on by machine. The smaller text and numbers are embroidered in two strands of DMC 310. The black borders are peeped seams (I think that's what they are called). I cut my fabric 1" wide and pressed it in half length-ways. I then used a big stitch and a 1/8" seam allowance and basted them around the edges of the embroidered blocks. Then when I added the white sashing, I stitched them into the seam properly, leaving just 1/4" showing. This is one of the few times I press my seams closed, as otherwise the black would show through the white.
The quilting is pretty simple - echoing inside and outside the black borders. And the binding is sewn down by hand to keep it as narrow as possible and mirror the peeped seams.
A little bit of blue tac and my wall is perfect again!
This is aother tick on my Q4 Finish Along list!


Comments
(And this is the funniest way I've ever seen to cover a hole in the wall!)